Have you ever thought to yourself “Well, I’m not a photographer, so I can’t have a feed that is filled with beautiful images”?! 🙋♀️
I cannot even begin to count how many friends have told me this! Unless you’re a photographer, or have learned some basics of photography, chances are you very well have had those thoughts! I am here to tell you that it’s just not true. I follow so many amazing accounts who use their iPhone to create beautiful feeds. They’ve learned some basics on taking gorgeous images with their phone, and they utilize other resources (Like having professional photos taken to use throughout their feed, and investing in stock photo services) to ensure their images are eye-catching and get people to slow their scrolls!

1. Find lots of natural light for your photos, and make sure it’s all from the same source.
As awesome as they continue making the iPhone (and other smart phone) cameras, I have found that they just don’t do well in low light. This is why you should search for a LOT of natural light when taking your photo. Open up your blinds, and get CLOSE to the biggest window you have. This will make your photos crisp and remove the grainy look you see when the light is too dark.
You should also make sure you shut off all of your overhead lighting, and just rely on natural light. Overhead lights usually make your photos yellow, and cast harsh shadows.
It might be your first instinct to turn on all of the lights so that your photos are brighter. Instead, you’ll want to, turn them off, and get next to the biggest window in your home. This will ensure your photo is well-lit and all of the color tones are even!
2. Keep your backgrounds clean.
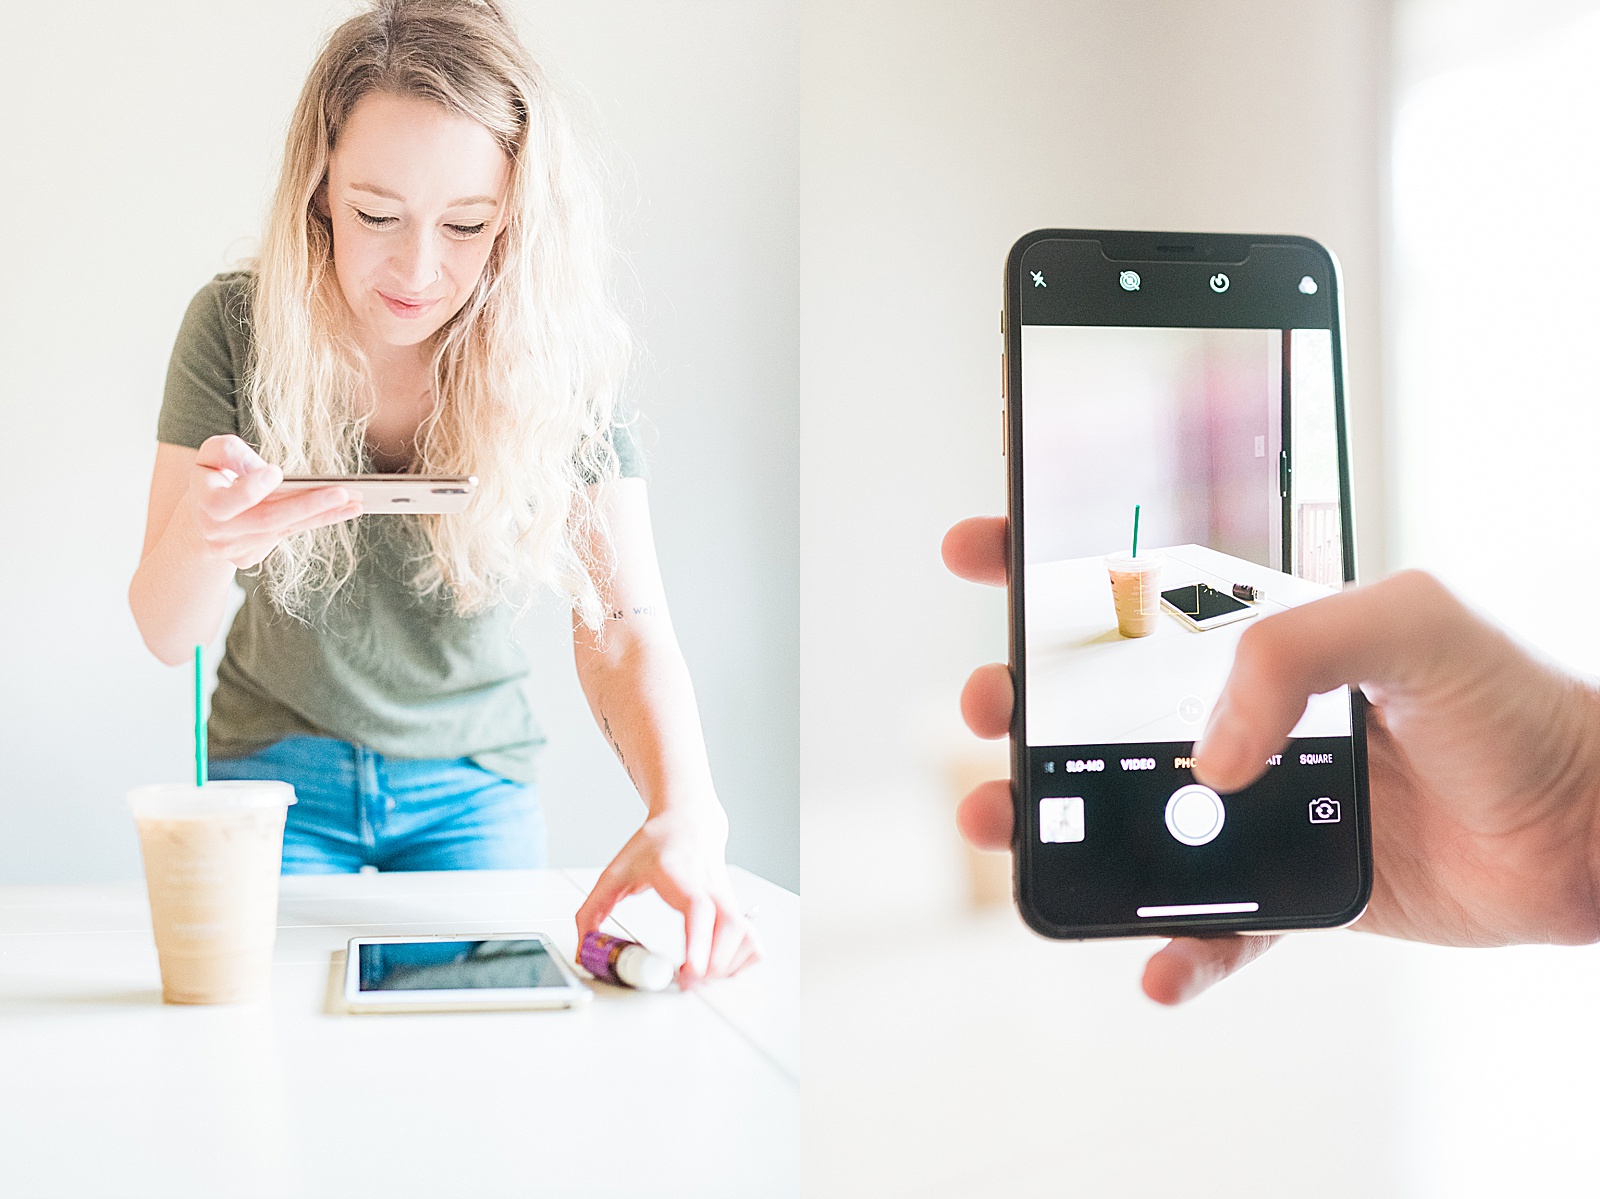
Just like it would be distracting to have a lot of background noise in a conversation with someone, the same goes for your images. Keep your background clear from clutter so that the subject of your photo is what a person’s eye is drawn to. I do a once over before setting up the “shot” I want to get, and then I make sure I look at the scene through my phone too just in case I missed something.
3. Use something white as a reflector to reflect more light onto your image.
If your image has heavy shadows, this would be a good trick to fill some more light in. A white poster board is a cheap and easy reflector to use!

4.Set your exposure for the image in the built-in camera app.
You can do this by tapping the subject you want to “expose” for. (Exposure is how light or dark the image is!) Sometimes the image may be too bright or too dark; if you’re using an iPhone, in the built-in Camera app, start by tapping to set focus. Then simply swipe up or down to adjust exposure (brightness). Otherwise, you can correct this while editing your image.
5. Blur the background of your photos by using a shallow depth of field.
If you’re using an iphone, this can be achieved with Portrait mode. Again, while using this mode, you’ll want to make sure you have TONS of natural light, Once you’ve switched to portrait mode, you’ll need to be 2-8 feet away from your subject. If you’re too close or too far away, your phone will tell you to change your distance. .

6. Edit your photos to be consistent.
Editing your photos will help fix your images if they’re too dark, too bright, too warm (yellow tones), too cool (blue tones) and so much more. It will also allow for your images to be cohesive. There are some really great apps out there to use for editing your photos. I can’t wait to break down exactly how I edit my images next week.

I hope these tips help you create beautiful images and capture incredible memories with your phone!


")


")
[…] Last week, I broke down how to take beautiful images on your cell phone, and this week I wanted to dive further into how to edit your images on your phone.Editing your photos will help fix your images if they’re too dark, too bright, too warm (yellow tones), too cool (blue tones) and so much more. […]
[…] week, I broke down how to take beautiful images on your cell phone, and this week I wanted to dive […]