So you have your first DSLR camera, and you’re wondering how to use it. Like myself, you probably switched the dial to Auto and started shooting. If you’re like me then you may have noticed by now that you just spent A LOT of money on this camera, and quite honestly it’s producing similar results as your point-and-shoot. Maybe you’re wanting to get better results, maybe you’re thinking about doing photography professionally. If that’s the case, then today’s post is for you!! Like last week’s post, I want to start off by saying there are TONS of articles already written on this topic! Here is an example of an awesome article that walks you through shooting manually.
To summarize the article, there are 3 key parts of shooting manually, your aperture (also known as your f-stop!), ISO, and shutter speed.
When shooting, the first thing I choose is my aperture. Aperture can be a little tricky to understand, especially if you over think it. When you change your aperture, you’re not only changing the amount of light the lens is letting in, but you are also changing the depth of field (DOF). Depending on your lens, aperture can range from f/1.2 (if you shoot Canon) to f/22. When you’re first starting out, it may be a little confusing, but the smaller the number (i.e. f/1.4) the larger the aperture. Remember when I said there are already GREAT resources written, check out this article explaining aperture and DOF! It’s seriously so much more helpful than I could ever be! Most professional photographers, including myself, (*note I said most, obviously this isn’t always the case!) shoot with a shallow DOF, which means only a small part of the image is in focus, and everything else is blurred. One of my favorite lenses for being able to practice shooting with larger apertures is the 50mm f/1.8 (both Nikon’s and Canon’s are VERY affordable!) I say practice, because it really does take practice to nail your focus when shooting with that shallow of a DOF. However, you get a creaminess to your images that you don’t get with shooting with your kit-lens. This is why I choose to set my aperture first when shooting. That creaminess is my number one priority.
Next I think about shutter speed. This might be different for other people in the industry. However, I choose to set my shutter speed next because having images that are sharp and not blurry due to camera shake or movement is very important to me. As the first article I linked to says, “your shutter speed determines how long your shutter stays open” So if it’s open for longer periods of time, you have a greater risk of capturing motion either of your subject, OR you! (No matter how hard you try, your hands will probably shake just a little 😉 ) A rule I like to stick to is to not have my shutter go lower than 1/100, and ideally have it be higher than 1/160 (especially when working with lenses like the 70-200mm)
Last, I choose my ISO. Your ISO determines the sensitivity of your sensor to light. A high ISO could mean there will be visible noise, or grain, in your images. I however, have decided that I would rather have grain in images and have them be sharp, than no grain but blurry because of a low shutter speed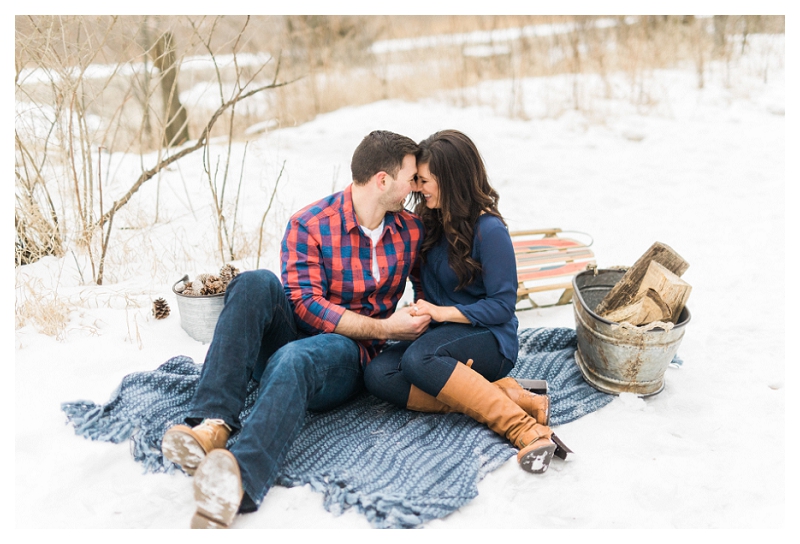
Shooting manually takes practice, and once it clicks, it clicks! (pun intended 😉 ) You’ve got this!!


